Improve Your Dev Environment With Vagrant
22 Jun 2015![]()
Installing development dependencies for all of your company’s applications can be a pain. As a developer this is a nuisance that wastes time and breaks your flow, and as a designer this can be so frustrating that it stops you from running applications altogether.
One example could be if your company works primarily in Ruby on Rails, you may have several versions of Ruby running in production as you upgrade them individually to the newest version. This means that when people want to run an app locally, they need to have the app’s current version of Ruby installed via a tool like RVM or rbenv. If you are using a database like PostgreSQL in production and want to mirror that configuration in your local development environment to find bugs earlier in the process (a practice which I would encourage), then you also might need to have multiple versions of PostgreSQL installed. All of these individually versioned development dependencies need to be kept up to date as things get upgraded. This can cause problems for a team of developers, but even as a single developer working on a few applications this can become a mess.
An excellent solution to this problem is to use Vagrant to isolate dependencies and their configuration into a single disposable, consistent environment that can be created and destroyed with a single command. In this post I will show you how the required current versions of Ruby and PostgreSQL can be added and configured easily to produce a single easily-reproducible and isolated environment using Vagrant.
All code for this post can be found at github.com/jtescher/vagrant-rails.
Creating The Application
For this example we will create a Rails app that has a database dependency. Remember this will work with any application. Also note that for simplicity we are creating the Rails app before we start using Vagrant, so you have to have PostgreSQL installed, but once we add Vagrant later in this example it won’t be required anymore (if you’re not happy with this you can skip down and install Vagrant first). Let’s first generate a new Rails project that we’ll call blog.
  $ rails new blog --database=postgresql
  $ cd blog
Let’s now give our blog app a Post scaffold so we can see some posts with a title and a body.
  $ rails generate scaffold post title:string body:string
  $ rake db:create
  $ rake db:migrate
Now let’s start the server and see what we have so far.
$ rails server
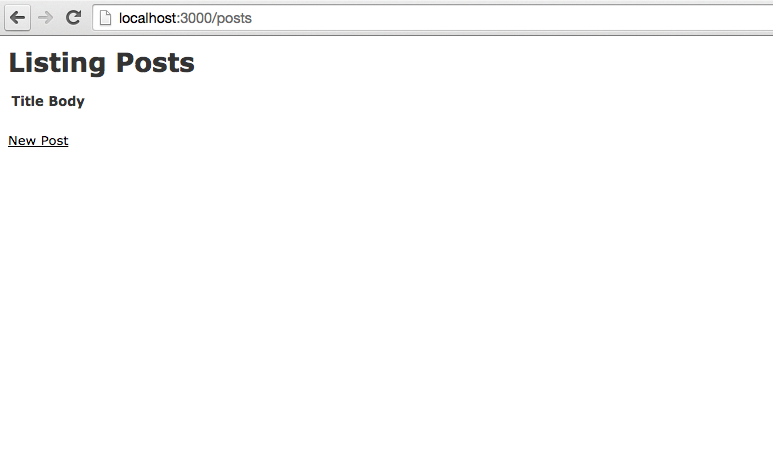
If we open localhost:3000/posts, we see our functional blog scaffold.
Let’s now stop the server with Ctrl-C and get the app running inside of Vagrant.
Installing Vagrant
Up until now this has been a pretty typical development process for anyone interacting with a Rails app. You will notice
that anyone who wants to work on your blog has to do a few things now just to get it up and running. Even though this
app couldn’t be simpler, they have to have the right version of Rails installed and all of the other gems in your
Gemfile as well as the right version of PostgreSQL. If you make any changes to either of those things, all other
developers will have to manually update their dependencies. Ugh.
A great solution to this problem is to use Vagrant to manage your dependencies for you. This will create an isolated development environment for you in a virtual machine, and at any point if things aren’t working properly or if there are major changes, you can simply destroy and re-create the whole thing from scratch.
Getting Vagrant installed on your machine is simple with Homebrew.
  $ brew install caskroom/cask/brew-cask
  $ brew cask install virtualbox
  $ brew cask install vagrant
Now that we have VirtualBox installed, we can use Chef through Vagrant to provision the VM’s. Let’s install Chef, the ChefDK, and the cookbook manager plugin vagrant-berkshelf as the final part of our setup.
  $ brew cask install chefdk
  $ vagrant plugin install vagrant-berkshelf
Adding Vagrant To Your Project
Vagrant can be configured simply through a Vagrantfile at the root of your project. Let’s add one now for this
project.
Vagrant.configure(2) do |config|

  # Use ubuntu base
  config.vm.box = "ubuntu/trusty64"

  # Forward Rails port
  config.vm.network "forwarded_port", guest: 3000, host: 3000

  # Configure chef recipes
  config.vm.provision :chef_zero do |chef|
    chef.json = {
      'postgresql' => {
        'password'  => {
          'postgres' => 'iloverandompasswordsbutthiswilldo'
        }
      }
    }
    chef.run_list = [
      # Install Ruby
      "recipe[ruby-ng::dev]",

      # Install Node.js for rails assets
      "recipe[nodejs::default]",

      # Install PostgreSQL DB
      "recipe[postgresql::server]"
    ]
  end

end
To download and version the cookbooks used by Chef we can add a Berksfile at the root of your project.
source 'https://supermarket.getchef.com'

cookbook 'ruby-ng', '~> 0.3.0'
cookbook 'postgresql', '~> 3.4.20'
cookbook 'nodejs', '~> 2.4.0'
And the final step is to install the cookbooks with:
$ berks install
Running Vagrant
Now for the magic part. To start your new virtual development environment run:
$ vagrant up
After your environment has been created, let’s ssh into it and get our rails app running.
$ vagrant ssh
$ cd /vagrant/
$ bundle install
And we can create the development PostgreSQL database via:
$ sudo -u postgres createuser -s vagrant
$ rake db:create
$ rake db:migrate
Your environment is now ready! Let’s start the server:
$ rails server -b 0.0.0.0
You can now if we open localhost:3000/posts, and see your posts scaffold served from the Vagrant box!
To remove the VM once you’re done working on your application, simply run $ vagrant destroy to remove the environment.
At any time you can easily $ vagrant up and have a brand new environment waiting for you!
Conclusion and TLDR
Vagrant is a great way to create and configure reproducible and portable work environments built on top of
industry-standard technology. It allows you to have a standard way to configure and maintain the way you build and run
applications locally. Once someone creates a Vagrantfile, anyone can simply clone the project and $ vagrant up to
get a fully functional environment in minutes. For designers this means that any time you run into problems, you know
you can simply $ vagrant destroy and $ vagrant up to fix things. For operations engineers it means having a standard
way to test Chef cookbooks and even deploy to clouds like AWS with the same configuration that was used to develop the
application. And finally, for app developers it means having a consistent environment for development, testing, and
production that can easily be maintained and updated across your whole team.